曾喜煌
學歷:
- 國立臺中教育大學 資訊工程學系 學士畢業 (2019/09 ~ 2023/06)
- 國立臺中教育大學 資訊工程學系 碩士畢業 (2023/09 ~ 2025/07)
專長:
C, C++, Linux, Shell, Makefile, gdb, Golang, Kubernetes, Docker, Dockerfile
專業技能
Linux
- 從大一開始把筆電灌成 Linux,長期並持續使用的情況下,熟悉 Linux 的命令操作
- 曾經使用 Ubuntu, Debian, CentOS, Arch, 等等的 Linux 發行版
- 習慣且熟悉使用 tmux + vim 作為我的開發環境
C Language and System Software
- 2021 iThome 鐵人賽以「C 語言筆記」作為主題並完賽
- 自學 MIT 的作業系統課程 6.1810: Operating System Engineering 並寫成系列文章 xv6 學習紀錄
- 會使用
gdb做 debugging- Hardware: 以
qemu做模擬 - Operating System: xv6-riscv
- [xv6 學習紀錄 04-2] 如何使用 gdb 追蹤 xv6 的 system call 過程
- Hardware: 以
- 使用 C 語言寫的坦克射擊遊戲:tank-game
Cloud Computing
- 大學專題與研究所的研究領域,
- 大學專題:「賽局理論應用於資源分配之實現——以 Apache Yunikorn 為例」
- 碩士論文:「雲端邊緣運算中微服務部署之離散化粒子群最佳化演算法」
- 參與開源專案 Apache Yunikorn 並貢獻程式碼及文件撰寫
作品集與個人經歷
xv6 學習紀錄
系列文章連結:xv6 學習紀錄

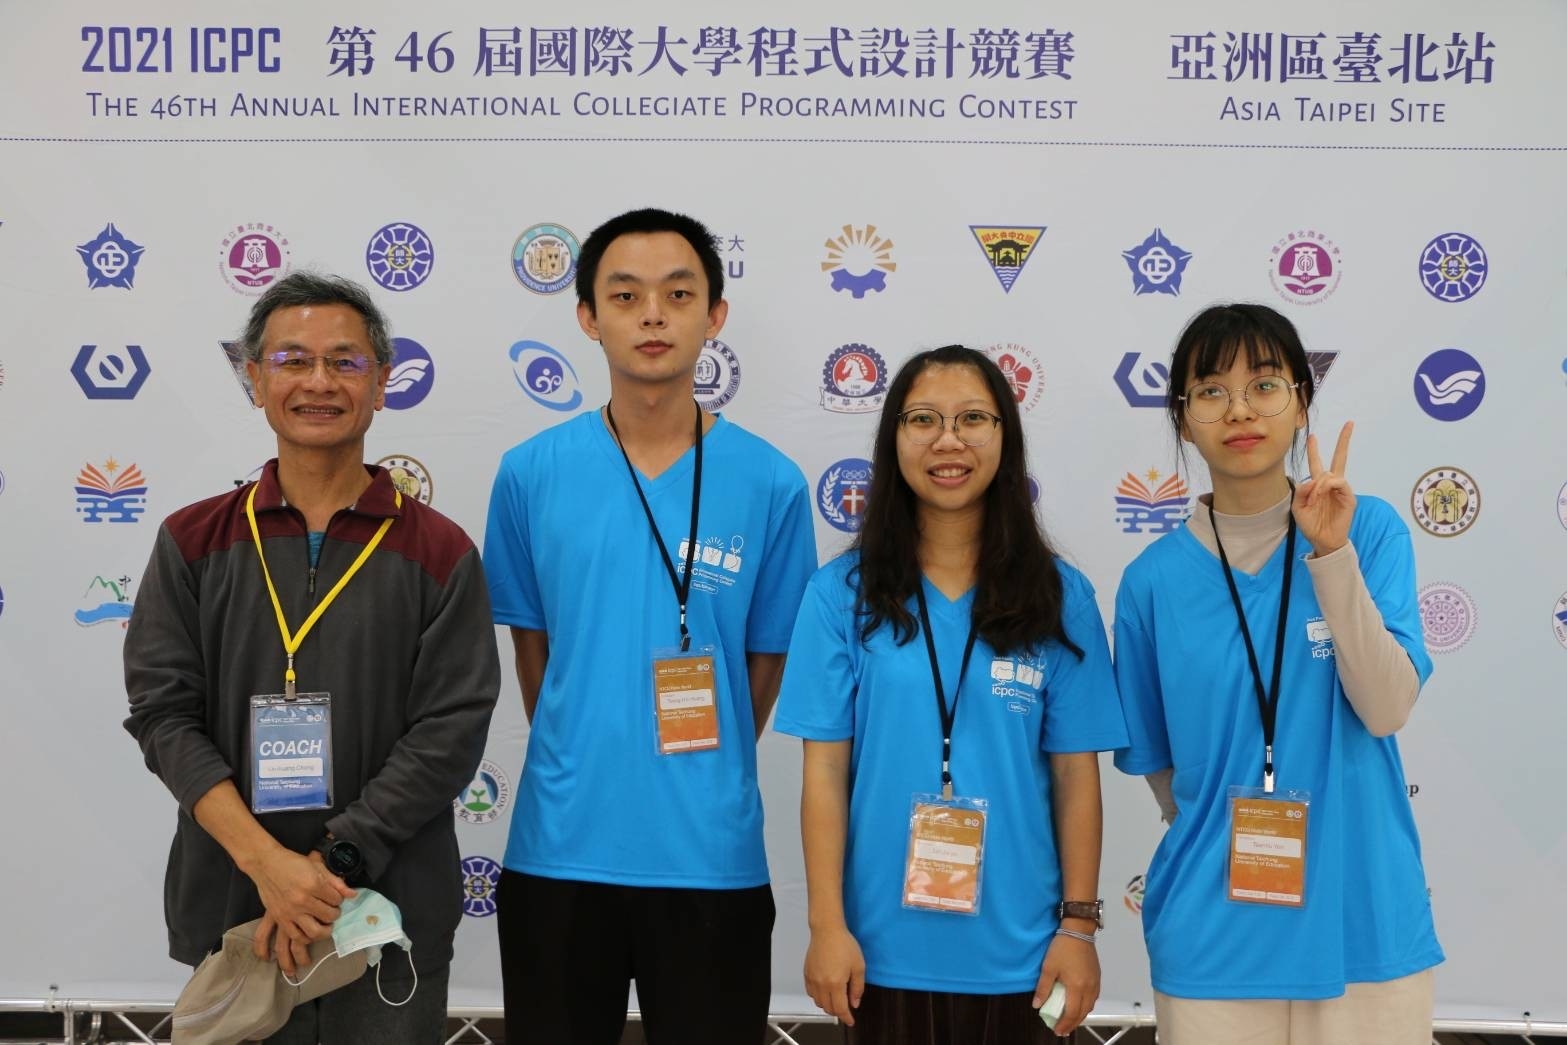
International Collegiate Programming Contest (ICPC) 程式競賽
大學時期相當喜歡程式競賽這項活動,透過練習及參與程式競賽提昇程式實做能力
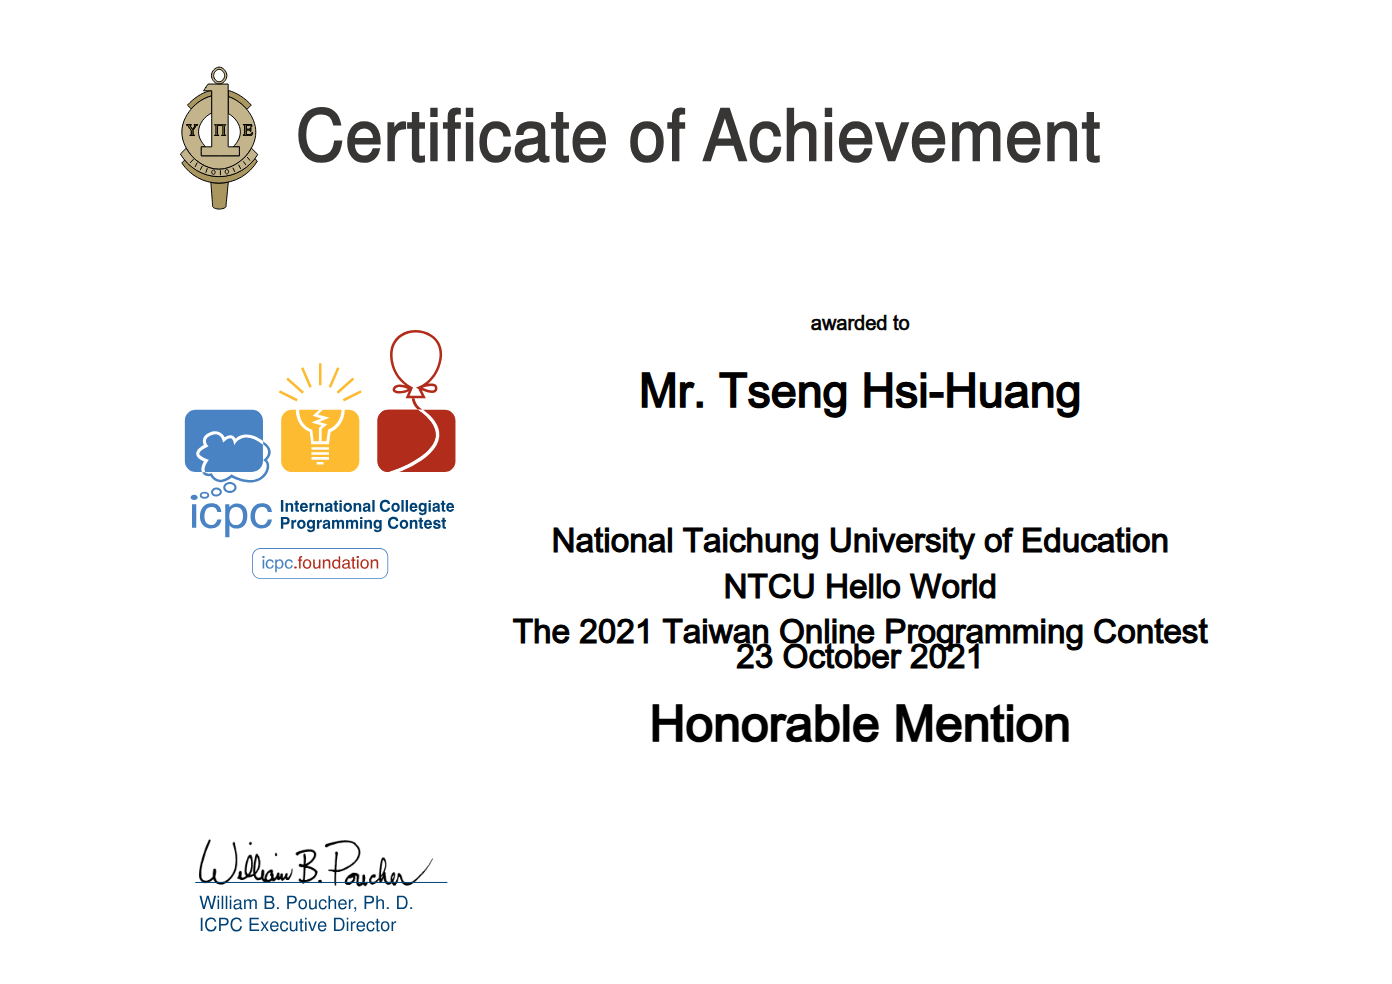
The 2021 Taiwan Online Programming Contest
比賽結果:Honorable Mention (為校內最佳)
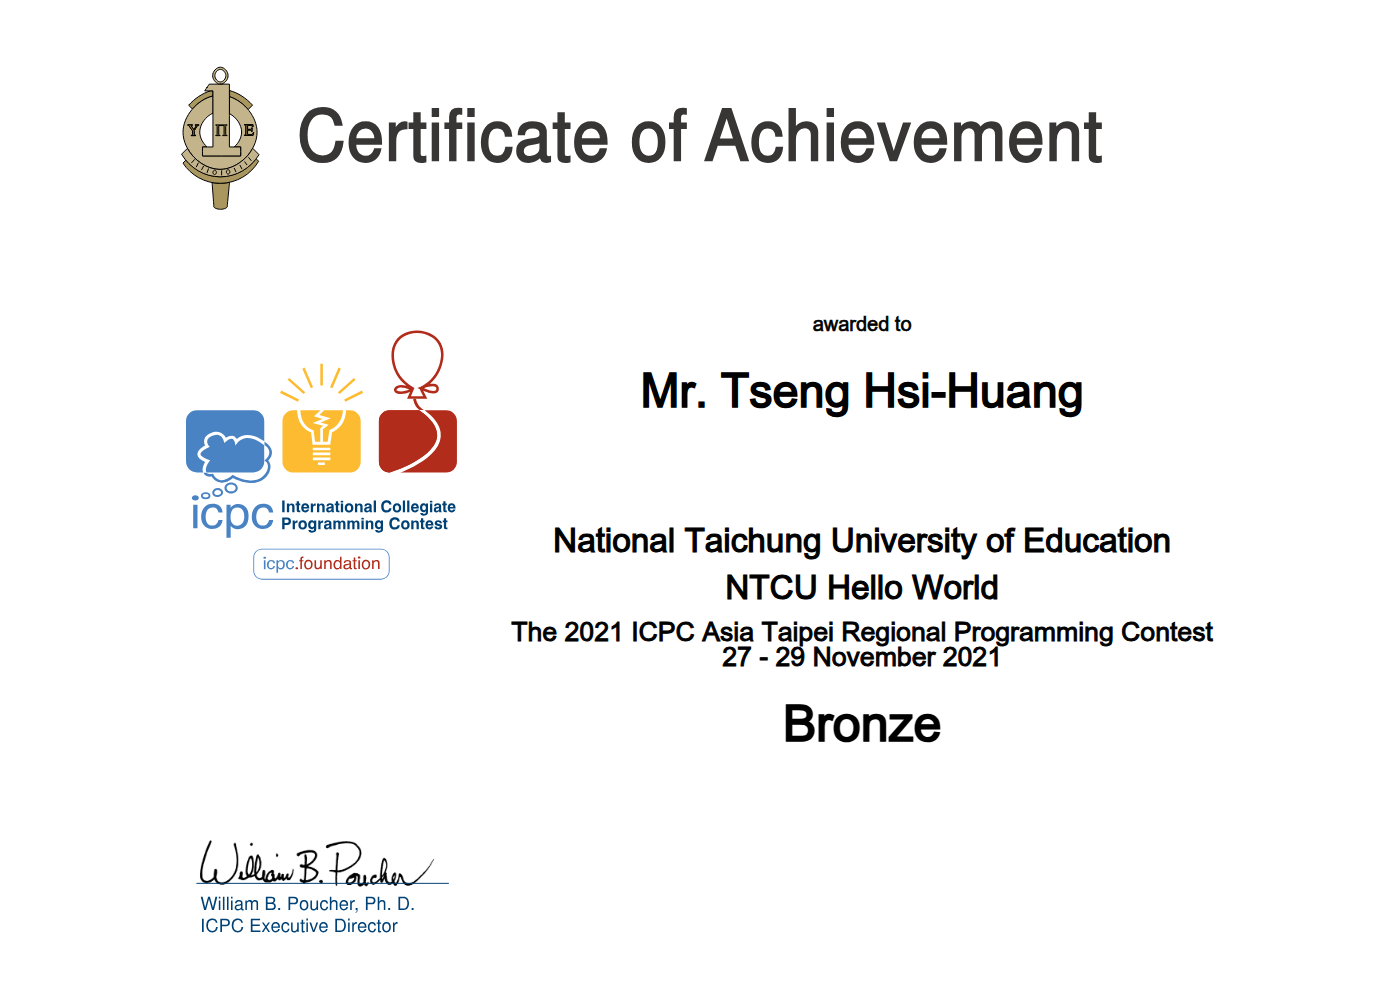
The 2021 ICPC Asia Taipei Regional Programming Contest
比賽結果:Bronze(銅牌獎,台灣區名次/隊伍數:46/103)
LeetCode 解題
除了以實做出題目需求作為目的,也嘗試把解題過程中的思路記錄下來。
系列文章連結:LeetCode 解題
2021 iThome 鐵人賽 (主題: C 語言筆記)
系列文章連結:C 語言筆記

這個網站的誕生
- 系列文章連結:這個網站的誕生
- Git Repository: yamatrail-site
- 學習以下技能:
- Google Cloud Platform 建立及管理虛擬機
- Cloudflare 註冊 Domain 及產生憑證
- Nginx 建立 HTTPS server
- Hugo 建立部落格網站
Apache Yunikorn contributor
Apache Yunikorn 是一個 Kubernetes 的 scheduler 的開源專案,在實驗室學長的帶領之下也進入開源社群進行貢獻,主要讓我學習到
- 大型專案的 CI/CD 模式
- 學習大型專案的 trace code 能力
下圖是我貢獻的 issue

大學專題:「賽局理論應用於資源分配之實現——以 Apache Yunikorn 為例」
碩士論文:「雲端邊緣運算中微服務部署之離散化粒子群最佳化演算法」
研究所的研究領域為微服務架構的效能優化,碩士論文題目為「雲端邊緣運算中微服務部署之離散化粒子群最佳化演算法」
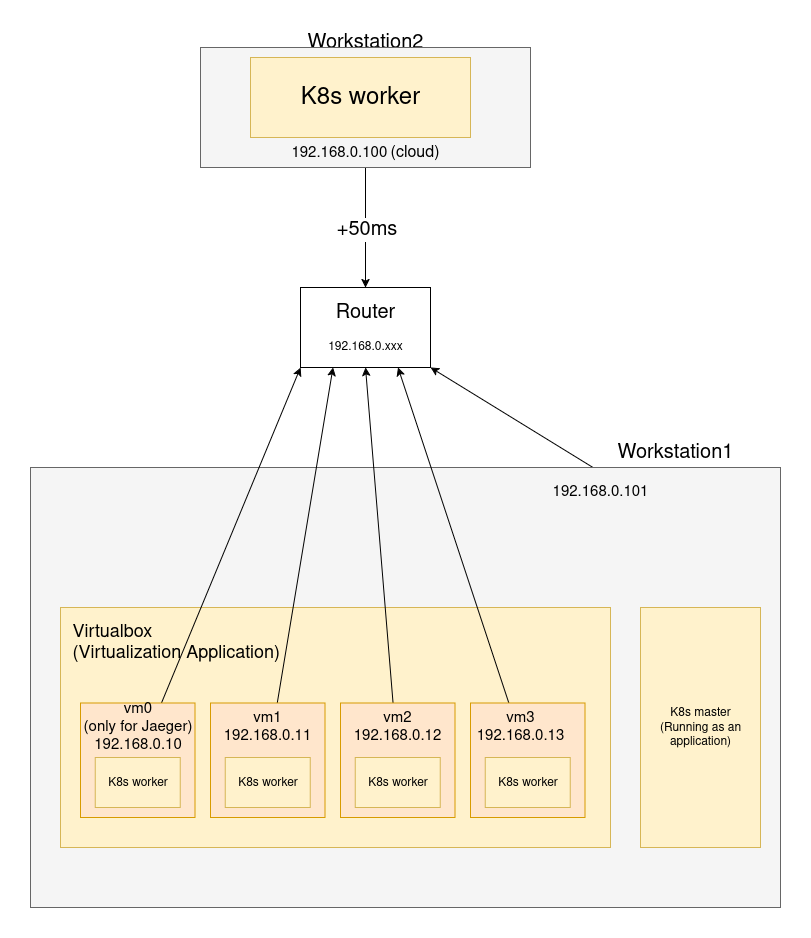
- 硬體環境為 Cloud-Edge computing 的異質性架構
- 軟體環境以 Google Cloud Platform 提供的 benchmark: Online-Boutique, 是一個以微服務架構實做的購物平台
- 演算法使用離散化粒子群最佳化演算法進行效能(Response time)優化
Contact Me
- Email: [email protected]
- GitHub: @9501sam
- IT 邦幫忙: https://ithelp.ithome.com.tw/users/20137780