Step 4 – building the kernel image and modules
從使用者的角度而言,這非常的簡單,只需要 make 就行了
make help 可以看到 help,這裡可以先觀察 target all
$ make help
[...]
Other generic targets:
  all - Build all targets marked with [*]
* vmlinux - Build the bare kernel
* modules - Build all modules
[...]
Architecture specific targets (x86):
* bzImage - Compressed kernel image (arch/x86/boot/bzImage)
[...]
從這裡可以得知,make all 的時候會有 vmlinux, modules, bzImage 這三個 target 被觸發
vmlinux: 未壓縮的 kernel imagemodules: 在 config 中被標記為M的會變成 kernel modules (.kofiles)bzImage: 壓縮過後的 kernel image (x86)
實際在開機時,會用壓縮過後的 bzImage,vmlinux 是作為 debug 用,(不在這本書的範圍)
這裡推薦的平行化程度 n 為
n = num-CPU-cores * factor
factor 推薦為 2,或是 1.5 (如果是高階有著 100 cpu cores 的系統)
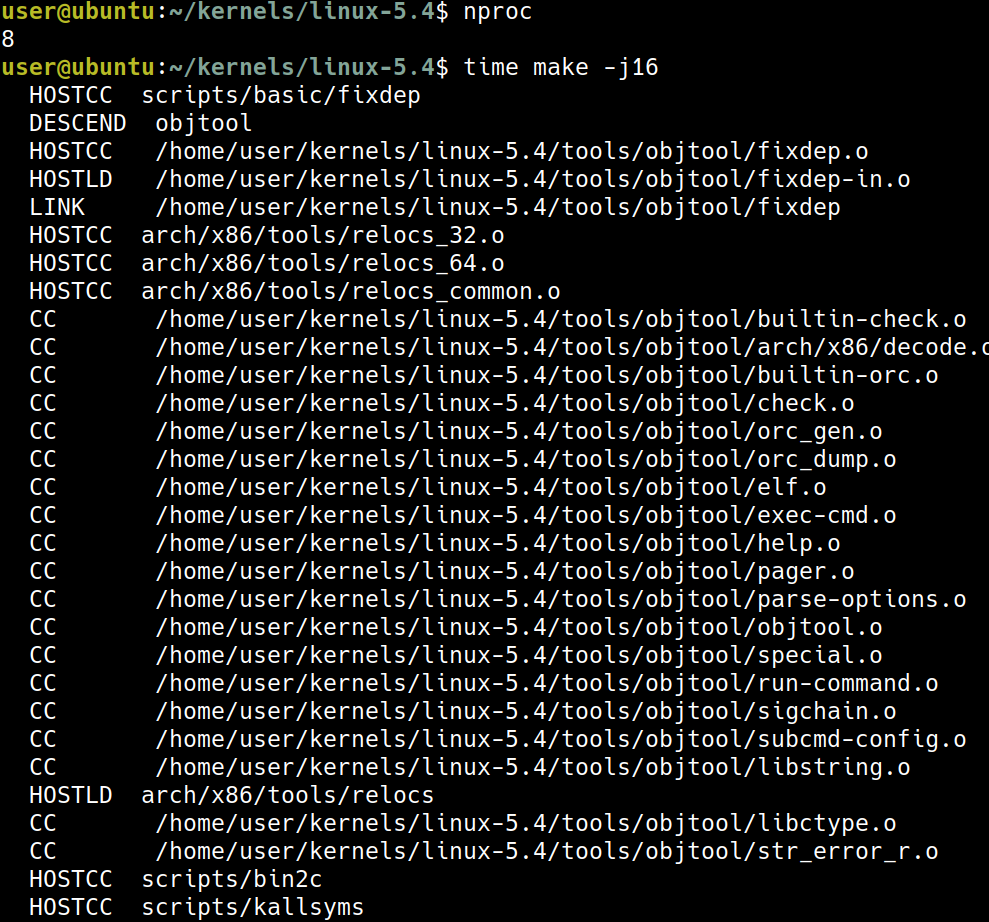
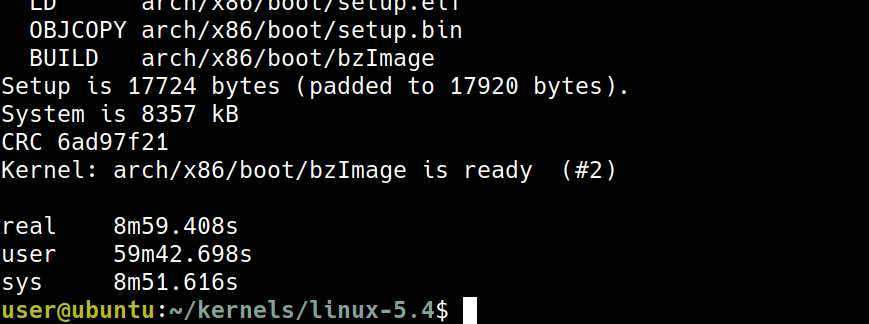 我自己在 virtural box 的設定是 8 core,根據書上的說法,我要使用
 -j16,大約花了 9 分鐘
(#2) 代表的是這是第二次 build,這個數字會在之後遞增
make all 之後,現在我們得到了 3 個東西:
- 未壓縮的
vmlinux - Symbol-address mapping file,
System.map - 壓縮過後的
bzImage

vmlinux 的檔案非常大,vmlinux 與 System.map 這兩個檔案室用來 debug 用的
實際上用來開機的會是壓縮過後的 bzImage,會放在 arch/<arch>/boot/

bzImage 只有 8.2 MB 跟 582 MB 的 vmlinux 差很多
Step 5 – installing the kernel modules
在前一個步驟中,我們看到了 vmlinux 與 bzImage,現在還少了一個東西:modules,Step 5 會告訴我們 modules 該如何處理
Locating the kernel modules within the kernel source
kernel moduels 會以 *.ko 作為結尾
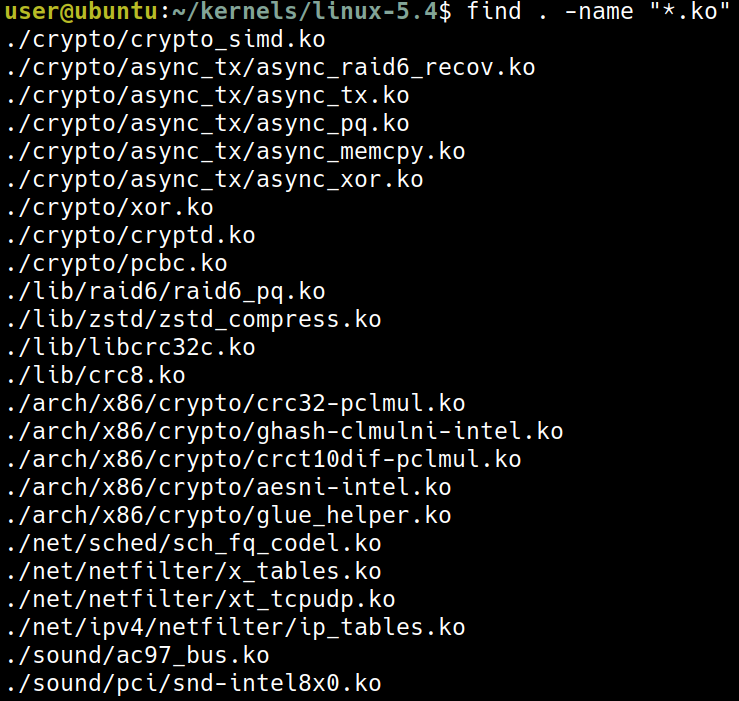
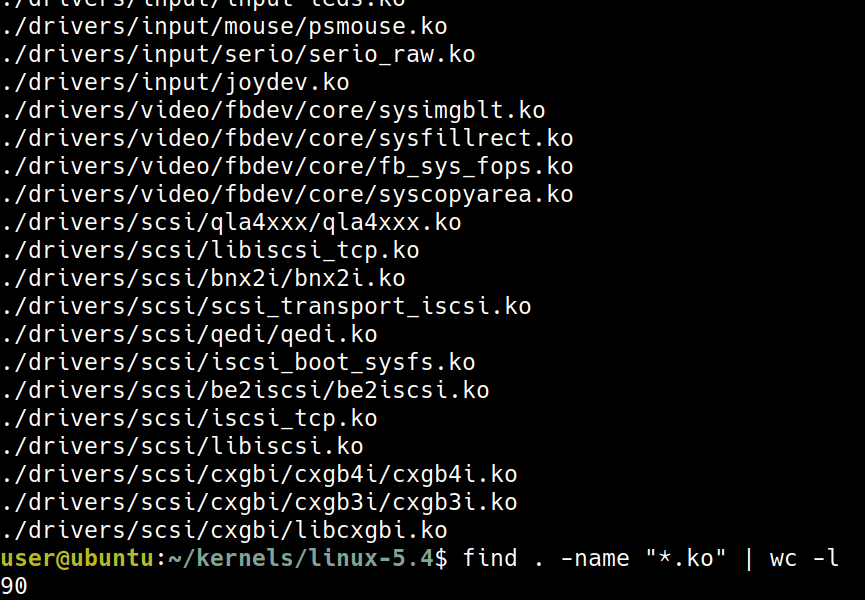
find . -name "*.ko" -ls | egrep -i "vbox|msdos|uio" | awk '{printf "%-40s %9d\n", $11, $7}'
 這裡對應到的是在 chapter 2 做 config 的時候,
- VirtualBox support, n -> m
- Userspace I/O (UIO) drivers, n -> m
- MS-DOS filesystem support, n -> m
現在我們知道需要的 .ko 已經存在了,但我們需要放在 filesystem 中的 /lib/modules/$(uname -r)/ 這是下一小節的任務
Getting the kernel modules installed
只需要用這個命令就可以做到 kernel module installation
sudo make modules_install
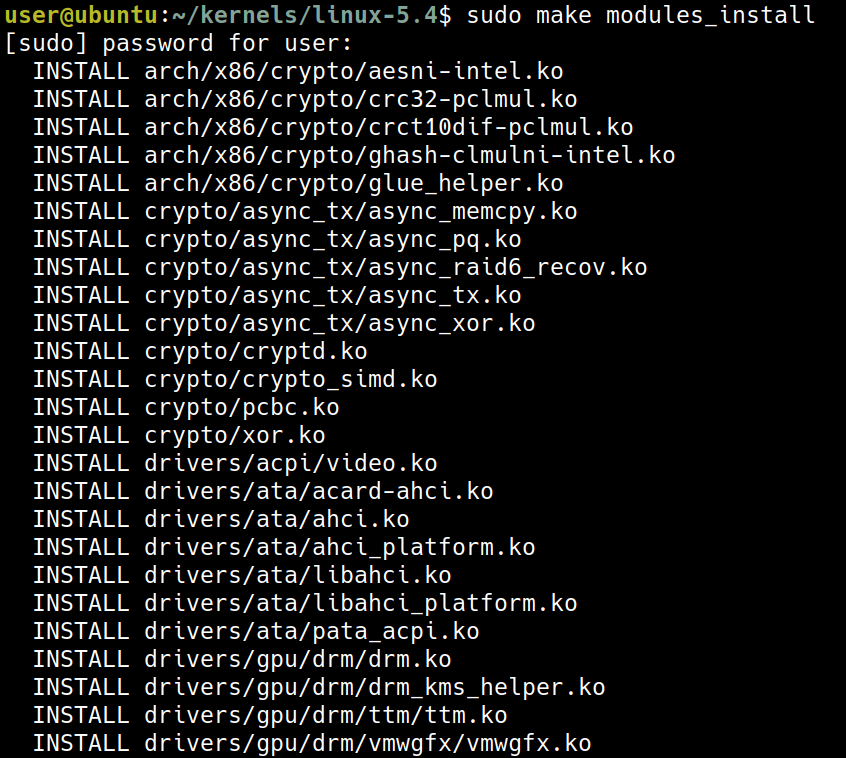

在 /lib/modules/ 中多了 5.4.1-llkd01,當之後用 5.4.1-llkd01 開機時,就會 load /lib/modules/5.4.1-llkd01/ 中的 modules
檢查剛剛我們看到的那些 .ko 有沒有放到 /lib/modules/5.4.1-llkd01/kernel/ 了
find /lib/modules/5.4.1-llkd01/kernel/ -name "*.ko" | egrep "vboxguest|msdos|uio"

最後,書中提及,我們其實可以自己指定 moduel 的 path 例如
export STG_MYKMODS=../staging/rootfs/my_kernel_modules
make INSTALL_MOD_PATH=${STG_MYKMODS} modules_install
並且在這個例子中,如果 STG_MYKMODS 在 user 可以 access 的權限,則可以不使用 sudo
Step 6 – generating the initramfs image and bootloader setup
- initramfs 代表 initial RAM filesystem
- 要注意的是這裡在討論的是 x86 底下的架構,分為兩個部份
- 產生
initramfsimage - (GRUB) bootloader setup 之所以會變成一個步驟 Step 6 是因為有很方便的工具可以讓兩個步驟變成一個步驟
sudo make install
這個命令就包含了
- 產生
initramfsimage - (GRUB) bootloader setup
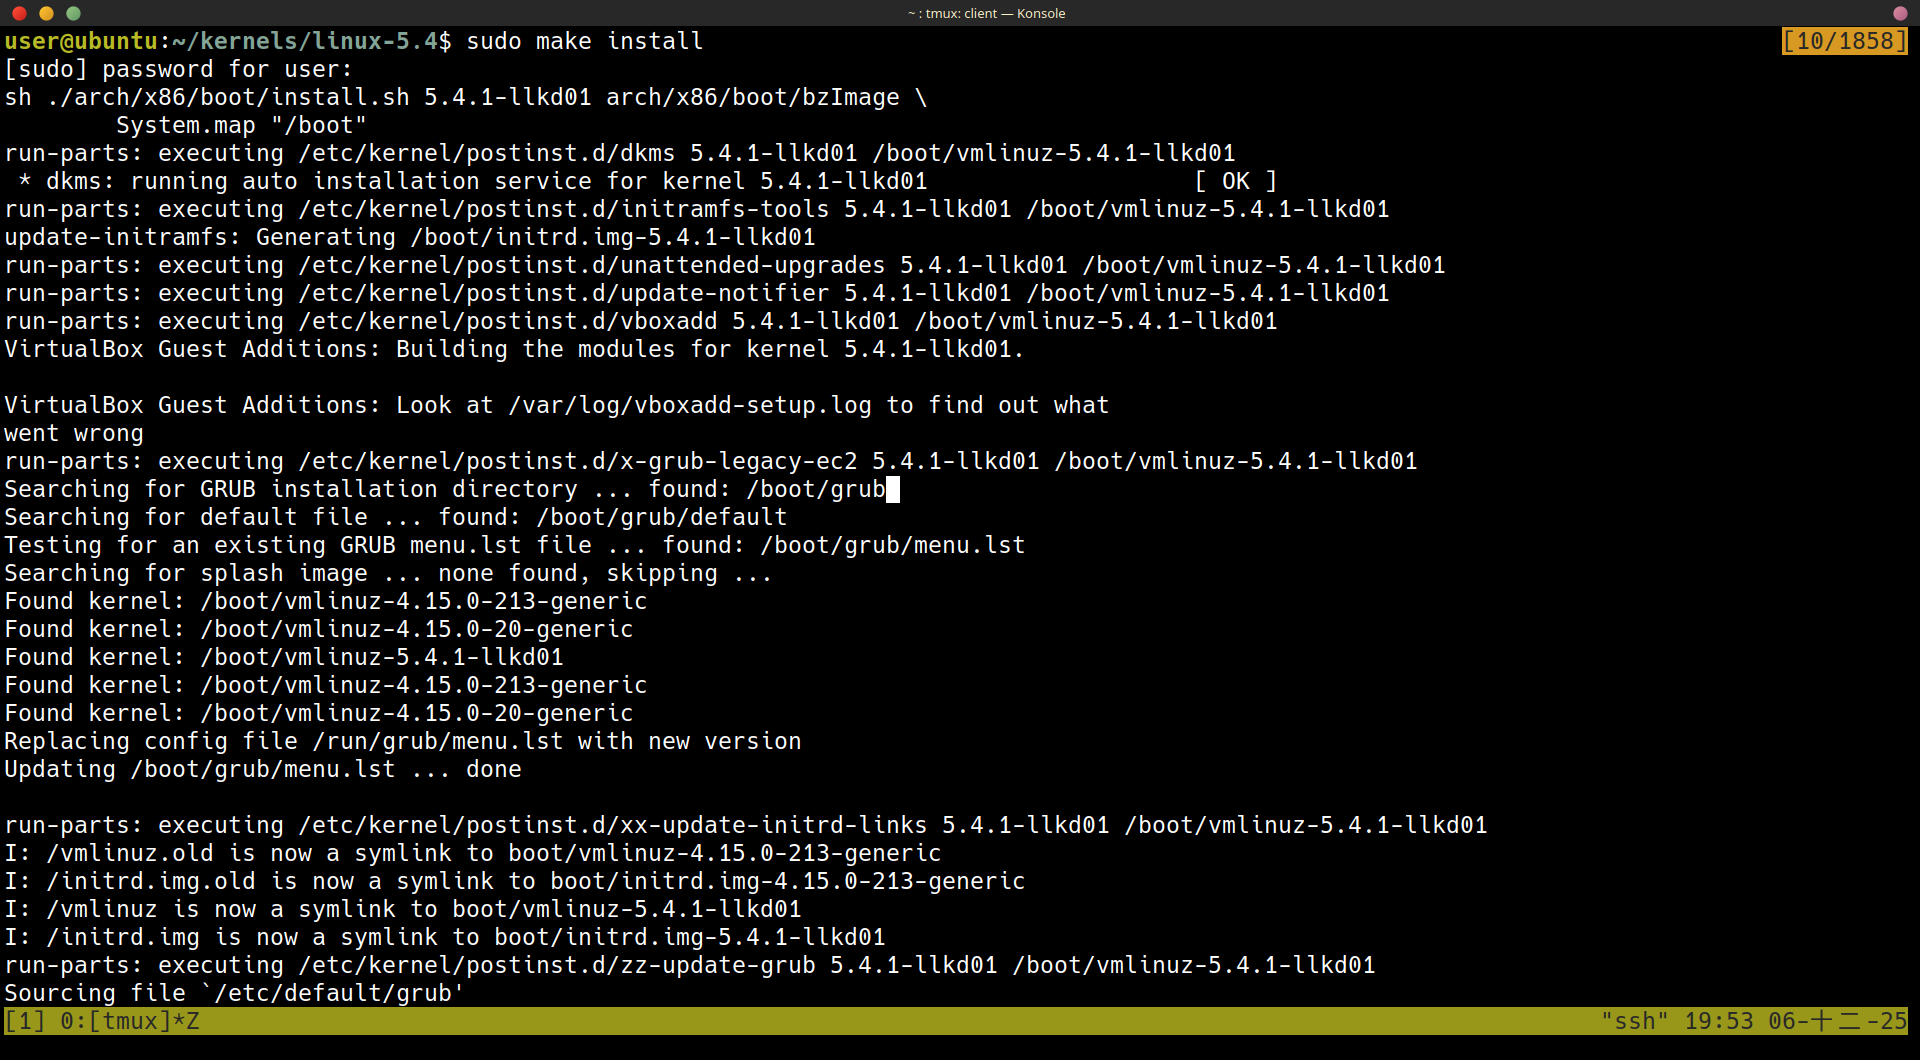
Generating the initramfs image – under the hood
在最一開始的 sudo make install 的時候,實際上會執行 ./arch/x86/boot/install.sh 這個腳本
$ sudo make install
sh ./arch/x86/boot/install.sh 5.4.0-llkd01 arch/x86/boot/bzImage \
System.map "/boot"
並且在腳本 ./arch/x86/boot/install.sh 執行完之後,會在 /boot 中產生這些檔案

initramfs(initrd.img-5.4.0-llkd01) image 是藉由腳本update-initramfs產生- 如果所有的 file 複製到了
boot中,原本的檔案會變成<filename>-$(uname -r).old - 壓縮過後的
vmlinuz-<kernel-ver>是arch/x86/boot/bzImage的 copy vmlinuz-<kernel-ver>是arch/x86/boot/bzImage的 copy- 回想一下
vmlinux是未壓縮過後的,vmlinuz則是壓縮過後的 - GRUB 的 config 檔也會更新在
/boot/grub/grub.cfg中 - 這些流程是非常的 architecture-specific
Understanding the initramfs framework
Why the initramfs framework?
- 可以跑一些 user space application 在 kernel boot 之前
Understanding the basics of the boot process on the x86
- BIOS
- bootloader (grub)
- vmlinuz + initramfs
- low-level hardware initialization
- Load these images to RAM and uncompressing
- jump to the kernel entry point
More on the initramfs framework
Step 7 – customizing the GRUB bootloader
Customizing GRUB – the basics
- keep a backup
sudo cp /etc/default/grub /etc/default/grub.orig
- 修改 config
sudo vim /etc/default/grub
- 設定一定要顯示 grub menu
GRUB_HIDDEN_TIMEOUT_QUIET=false
sudo update-grub
Selecting the default kernel to boot into
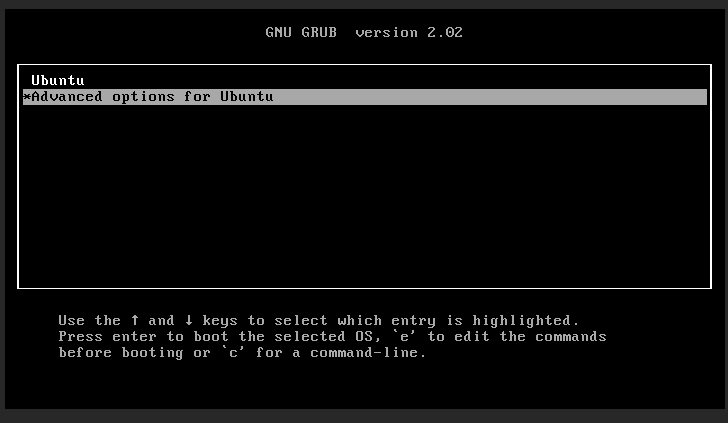
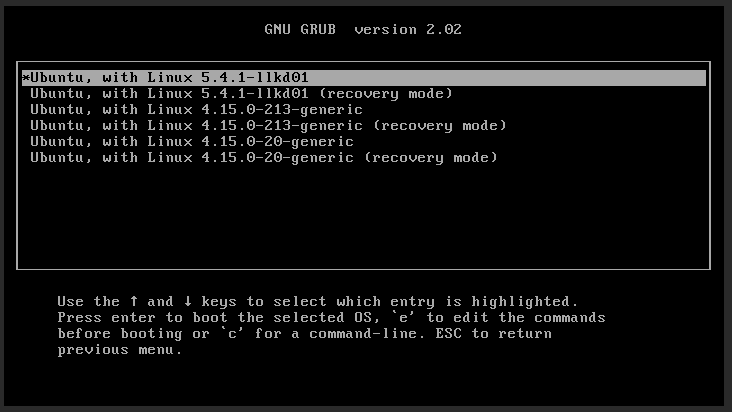
Booting our VM via the GNU GRUB bootloader
Kernel build for the Raspberry Pi
Step 1 – cloning the kernel source tree
我這裡是使用自己的 ubuntu 筆電,而不是像書上使用 virtual box 上的 gest VM
export RPI_STG=~/rpi_work
mkdir -p ${RPI_STG}/kernel_rpi ${RPI_STG}/rpi_tools
cd ${RPI_STG}/kernel_rpi
git clone --depth=1 --branch rpi-5.4.y https://github.com/raspberrypi/linux.git

現在在路徑 ~/rpi_work/kernel_rpi/linux 中,我們拿到了 5.4.83 Raspberry Pi kernel 跟書上的有一點不一樣 (5.4.51 Raspberry Pi kernel) 但沒這裡差一點點沒有關係。
Step 2 – installing a cross-toolchain
First method – package install via apt
這裡在安裝一些編譯時所需要的工具,書上的範例是使用 32-bit 的樹莓派,我手上的樹莓派是 64-bit,所以要用:
# Install general build tools
sudo apt update
sudo apt install build-essential git bc bison flex libssl-dev make libc6-dev libncurses5-dev
# Install the 64-bit ARM cross-compiler toolchain
sudo apt install crossbuild-essential-arm64
Step 3 – configuring and building the kernel
# Set target architecture to ARM 64-bit
export ARCH=arm64
# Set cross-compiler prefix
export CROSS_COMPILE=aarch64-linux-gnu-
# Set the kernel image filename for the Pi 4 (64-bit)
export KERNEL=kernel8
# Load the default configuration for BCM2711 (Pi 4) 64-bit
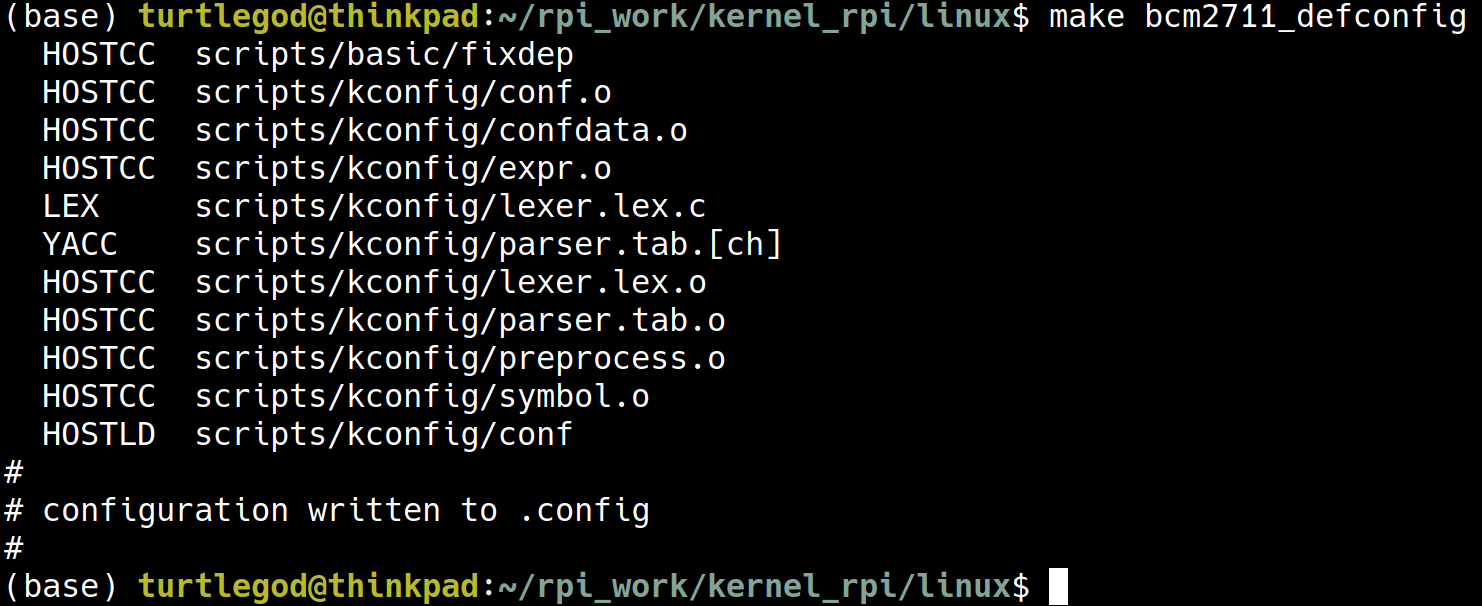
make bcm2711_defconfig
make menuconfig
# Compile the kernel image (Image), modules, and device tree blobs (dtbs)
make -j$(nproc) Image modules dtbs
 最後的 kernel image 會存放於
 arch/arm64/boot/Image
到了這裡,我們已經完成了編譯的步驟
放到 SD Card 中
在 build 之後要把以下三個東西
- kernel image
- device tree files
- modules
放入 SD Card 中
為了把東西放入 SD card 中,要先把 SD card 的 boot partition 與 root partition mount 到 ~/mnt/pi-boot 與 ~/mnt/pi-root:

# Example mounting setup (create directories first if they don't exist)
sudo mkdir -p ~/mnt/pi-boot ~/mnt/pi-root
# Replace /dev/sdX1 and /dev/sdX2 with your SD card device names
sudo mount /dev/mmcblk0p1 ~/mnt/pi-boot   # Boot partition (FAT32)
sudo mount /dev/mmcblk0p2 ~/mnt/pi-root   # Root partition (Ext4)
Copy Kernel Image
在 SD card 中 boot 中的 kernel8.img 是原本從官方下載的 kernel (6.12.47),現在我們把剛剛從 kernel source 5.4.83 build 出來的 arch/arm64/boot/Image 複製到 boot 分區的 kernel54.img
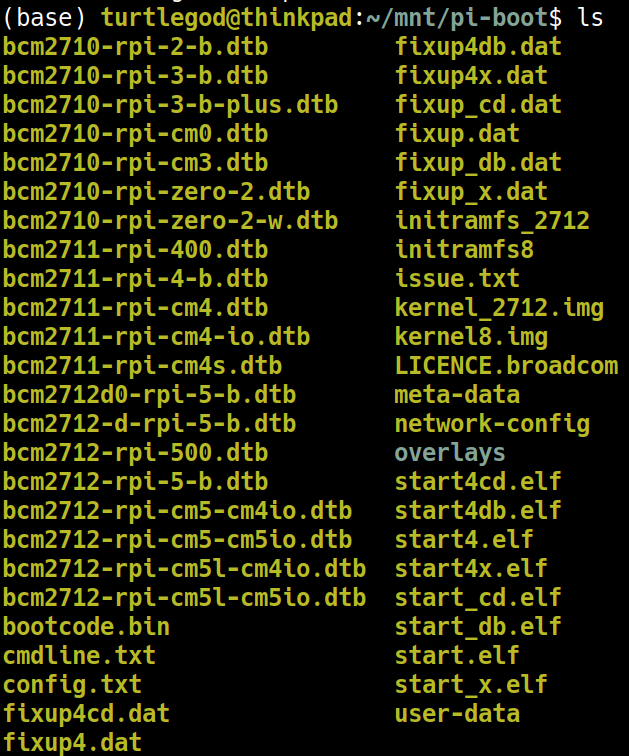
- Copy the kernel binary
sudo cp ~/rpi_work/kernel_rpi/linux/arch/arm64/boot/Image ~/mnt/pi-boot/kernel54.img
ls ~/mnt/pi-boot/kernel54.img
Install Kernel Modules
# The path INSTALL_MOD_PATH must point to the root partition of the Pi
sudo env PATH=$PATH make modules_install INSTALL_MOD_PATH=~/mnt/pi-root
ls ~/mnt/pi-root/lib/modules
現在多了一個 5.4.83-v8+ 的 module

Update config.txt
sudo vim ~/mnt/pi-boot/config.txt
[all]
# Current kernel is still kernel8.img (6.12)

# --- Start of 5.4 Kernel Block ---
[include boot54.rc]
# This setting is specific to the 5.4 kernel
kernel=kernel54.img
# Optional: If you customized the 5.4 DTB, you can point to it here:
# device_tree=bcm2711-rpi-4-b-54.dtb
[all]
# --- End of 5.4 Kernel Block ---
在 boot/config.txt 中所新增的 [include boot54.rc] 的區域,代表在 boot/boot54.rc 存在,這個 section 的設定才成立
- 所以現在新增一個空的
boot/boot54.rc來讓這個區塊的設定成立
# create the trigger file
sudo touch ~/mnt/pi-boot/boot54.rc
Unmount and Boot
sudo umount ~/mnt/pi-boot
sudo umount ~/mnt/pi-root